Every stitch tells a story · Free PDF Pattern with Weekly Newsletter Claim Free Guide →

Every stitch tells a story · Free PDF Pattern with Weekly Newsletter Claim Free Guide →
Easy Crochet Sweater Tutorial for Beginners: A Customizable XS to 5XL Pattern
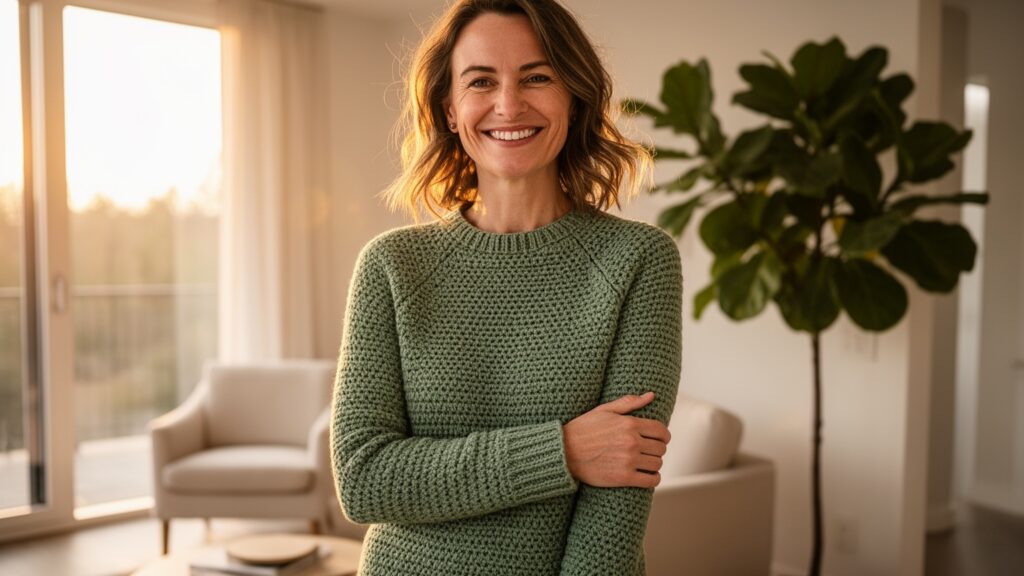
EASY crochet sweater tutorial for BEGINNERS does not need complicated shaping or advanced techniques. This beginner friendly sweater is built from simple rectangular panels, making it a practical first garment project while still allowing you to customize the fit from XS to 5XL.
Table of Contents
The design uses two rectangular body panels and two rectangular sleeve panels. The simple construction means you can focus on learning garment basics, checking your measurements, and creating a sweater that fits your body instead of relying on a fixed pattern size.
Key Takeaways
- This sweater uses beginner friendly rectangular panels with minimal shaping.
- The pattern includes customization options for adult sizes XS through 5XL.
- Checking gauge before starting helps prevent sizing problems caused by yarn or tension differences.
- Why This Beginner Crochet Sweater Design Works
- Materials, Gauge, and Size Preparation
- Step by Step Crochet Sweater Pattern
- How to Customize the Sweater Fit
- Common Problems and How to Fix Them
- Final Thoughts
- Frequently Asked Questions
Why This Beginner Crochet Sweater Design Works
Many sweater patterns feel intimidating because they require shaping, complicated stitch changes, and precise fitting. This design takes a simpler approach by breaking the sweater into four easy pieces: a front body panel, a back body panel, and two sleeve panels.
The main advantage of this construction is that beginners can create a wearable garment while practicing essential crochet skills such as maintaining stitch counts, measuring gauge, joining pieces, and adjusting length.
The pattern is based on double crochet stitches, which create a fabric that works up quickly. The instructions use US crochet terms. In UK crochet terminology, the double crochet stitch is called a treble crochet.
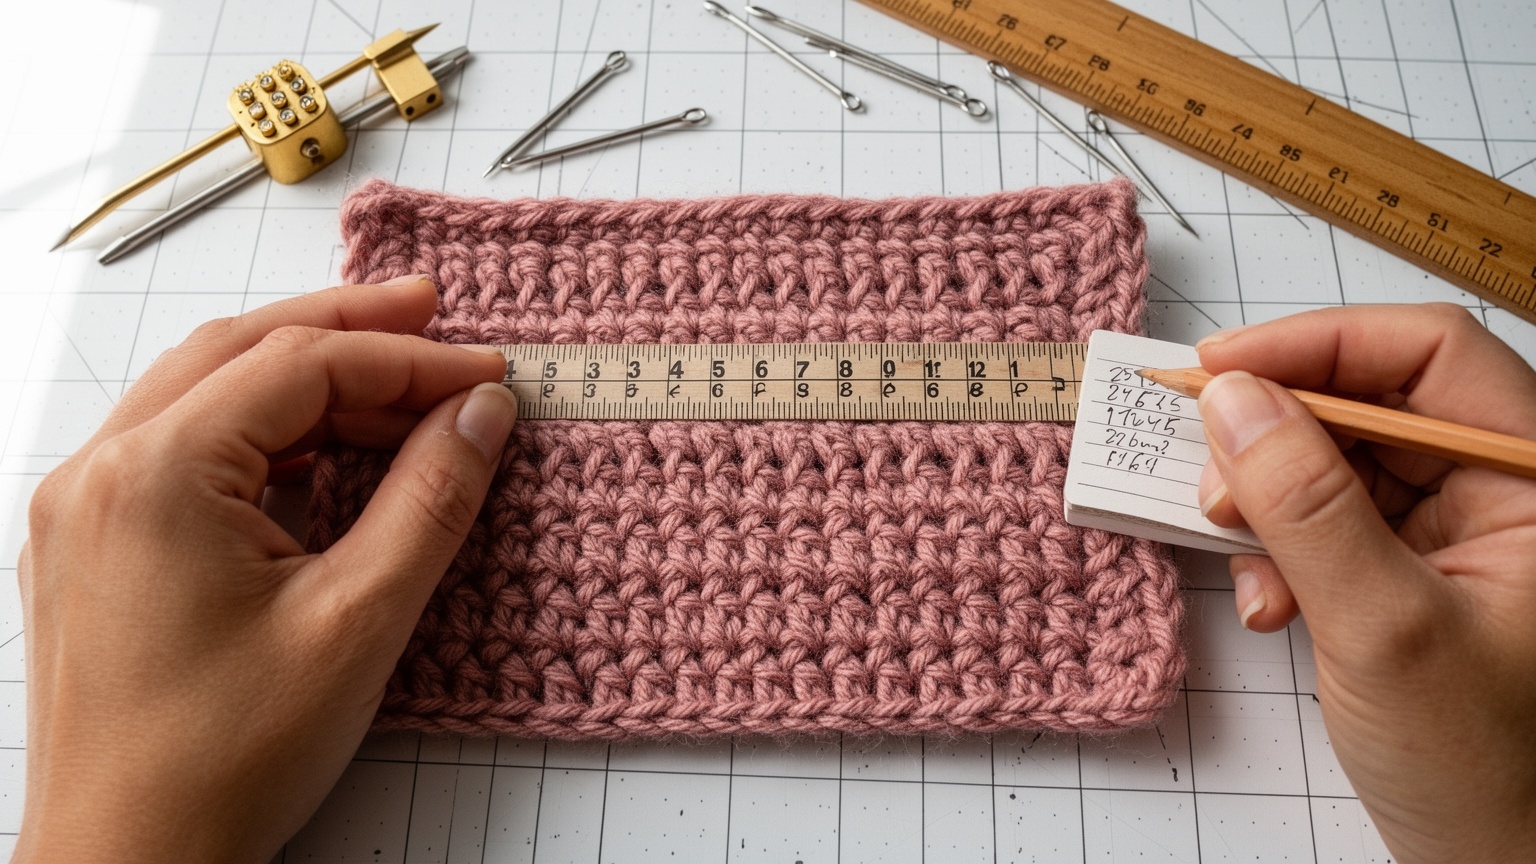
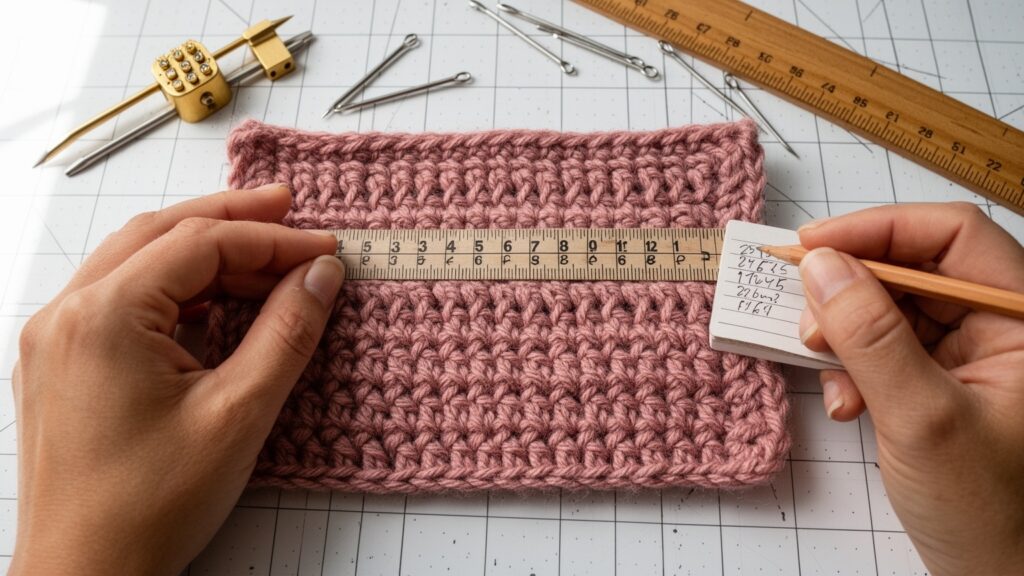
The pattern uses an assumed gauge, but every crocheter’s tension can vary. A worsted weight yarn combined with a 6 mm hook may create different fabric depending on your technique, which is why making a gauge swatch is an important first step.
Materials, Gauge, and Size Preparation
Materials Needed
- Worsted weight yarn, category 4, approximately 800 to 1,600 g depending on size, yarn choice, sweater length, and stripe changes.
- 6 mm crochet hook.
- Scissors.
- Tapestry needle.
- Optional stitch markers and measuring tape.
Gauge Information
The assumed blocked gauge for this sweater is:
- 12 double crochet stitches = 10 cm (4 inches).
- 8 rows = 10 cm (4 inches).
To test your gauge, crochet a small double crochet swatch. Wash or block it using the same method you plan to use for your finished sweater. Measure the middle section of the swatch after blocking.
If your gauge is different, do not rely on the stitch counts in the size chart. Instead, adjust the measurements using the customization formulas later in this tutorial.
Understanding the Fit
This sweater is designed with a relaxed fit. The finished chest measurement includes approximately 10 to 15 cm (4 to 6 inches) of ease over the listed body chest range.
The default body length ranges from approximately 48 cm (19 inches) for XS to 64 cm (25 inches) for 5XL. Sleeve lengths range from approximately 45 cm (17¾ inches) for XS to 53 cm (21 inches) for 5XL.
Double Crochet Basics
Double crochet (dc): Yarn over, insert your hook into the indicated stitch, yarn over and pull up a loop, yarn over and pull through two loops, then yarn over and pull through the remaining two loops.
Turning chain 2 (ch 2): Chain 2 at the beginning of each row and turn. The turning chain does not count as a stitch. Work the first double crochet into the first stitch of the row.
Step by Step Crochet Sweater Pattern
This beginner crochet sweater is created by making two matching body panels and two matching sleeve panels. Work slowly and check your measurements as you go. Small differences in tension can change the final size, so comparing both panels before assembly is important.
Body Panel Instructions
The front and back panels are worked the same way. Use the stitch and row counts for your selected size.
- Chain 2 more than the listed body panel stitch count.
- Example: For size L, chain 75 stitches to create 73 double crochet stitches.
- Row 1: Work a double crochet into the third chain from the hook and continue across each chain.
- Count your double crochet stitches. You should have the required number for your size.
- Row 2: Chain 2 and turn. Work a double crochet into the first stitch and every stitch across.
- Repeat Row 2 until you reach the required number of rows for your size.
- Fasten off.
- Create a second identical body panel.
Before moving forward, compare both panels. They should have the same number of stitches and rows. If one panel becomes narrower, check that you are working into the final stitch at the end of each row.
💡 Pro Tip: Place both finished panels on a flat surface before sewing. Matching the edges now is much easier than trying to correct uneven pieces after assembly.
🔥 Hacks & Tricks: If your edges are becoming uneven, place a stitch marker in the first and last stitch of every row. This makes it easier to identify where each row begins and ends.
Body Panel Size Guide
The pattern is designed for adult sizes XS through 5XL. Stitch counts are based on the stated gauge, but adjustments can be made if your measurements or yarn tension differ.
| Size | Body Length Approximation | Fit Style |
|---|---|---|
| XS | 48 cm (19 inches) | Relaxed fit |
| S | Approximately adjusted from XS | Relaxed fit |
| M | Approximately adjusted from XS | Relaxed fit |
| L | Approximately adjusted from XS | Relaxed fit |
| XL | Approximately adjusted from XS | Relaxed fit |
| 2XL | Approximately adjusted from XS | Relaxed fit |
| 3XL to 5XL | Up to approximately 64 cm (25 inches) | Relaxed fit |
Sleeve Panel Instructions
The sleeve panels are worked from the upper arm toward the wrist. The starting chain determines the width around the upper arm, while the number of rows controls sleeve length.
- Chain 2 more than the listed sleeve panel stitch count.
- Example: For size L, chain 55 stitches to create 53 double crochet stitches.
- Row 1: Work double crochet into the third chain from the hook and across.
- Row 2: Chain 2, turn, and work double crochet into every stitch across.
- Repeat Row 2 until the sleeve reaches your desired length.
- Fasten off.
- Make a second identical sleeve panel.
Optional Stripe Changes
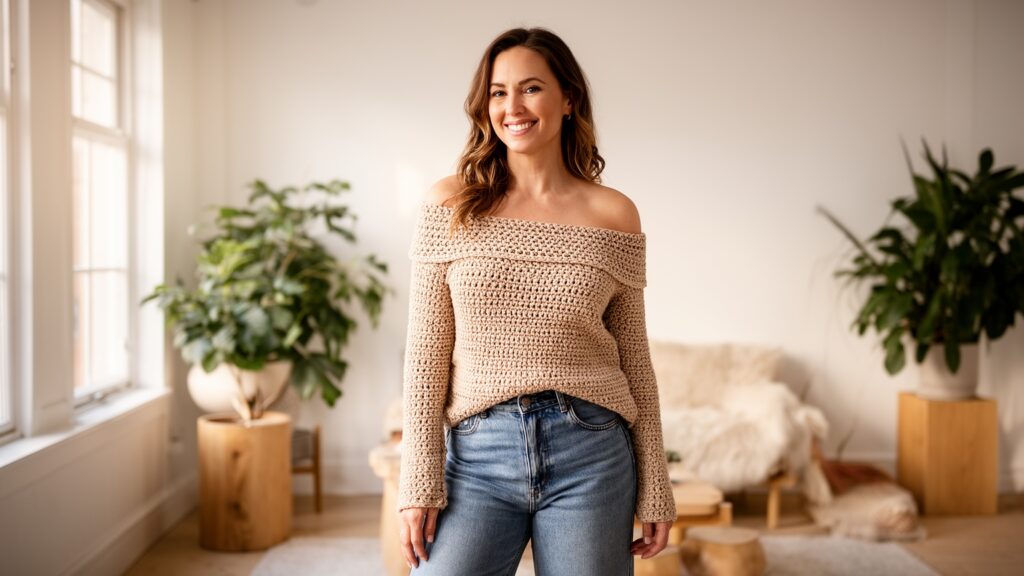
To add stripes, work five rows in one color and five rows in another color. Continue repeating this sequence until the sweater is complete.
When changing colors, begin the final double crochet of the old color but complete the final yarn over and pull through using the new color. Secure all yarn tails and weave them in with a tapestry needle.
Joining the Sweater Pieces
Lay the panels flat with the right sides facing each other before seaming.
- Place the front and back panels together.
- Along the top edge, sew inward from each outer edge to create the shoulder seams.
- Leave the center stitches open to form the neckline.
- Example: A size L leaves the center 37 stitches open and seams 18 stitches on each shoulder.
Next, sew the side seams.
- Start from the bottom edge of the sweater.
- Seam upward along each side.
- Leave the top section open for the armholes.
A simple starting estimate is to leave approximately half of the sleeve panel width unseamed at the top of each body side. Before permanently sewing, test the opening by placing the sweater against your body or using stitch markers for a temporary fit check.
Free Pattern Delivery
Get Your FREE Crochet Pattern PDF
Love this pattern? Enter your name and email below to get your free printable crochet pattern PDF delivered straight to your inbox!