Every stitch tells a story · Free PDF Pattern with Weekly Newsletter Claim Free Guide →

Every stitch tells a story · Free PDF Pattern with Weekly Newsletter Claim Free Guide →
Crochet Sweater: 7 Deadly Mistakes to Avoid (Step-by-Step Guide)
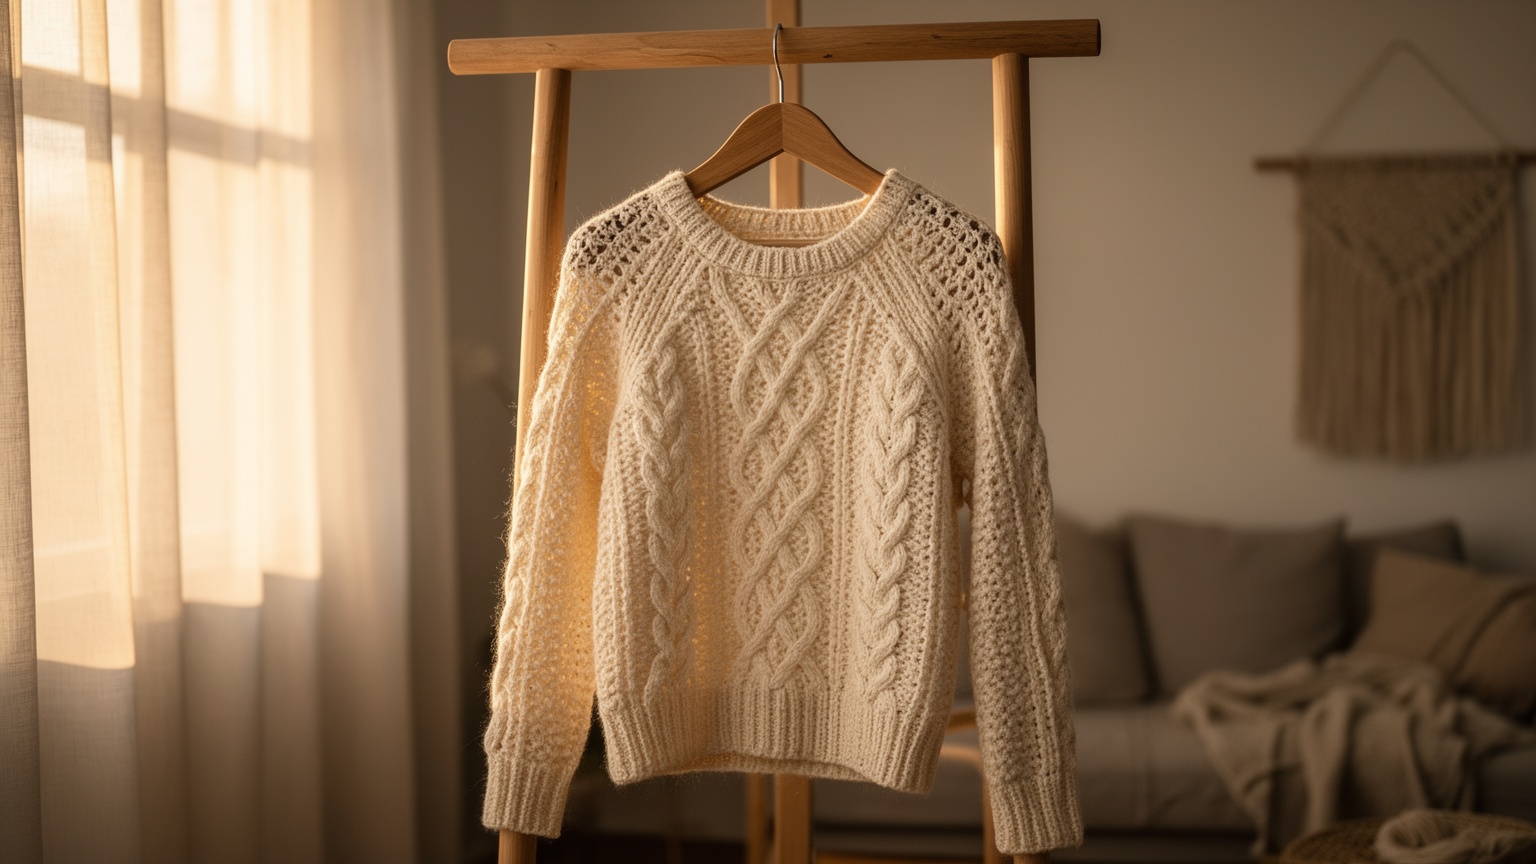
Learning how to crochet a sweater sounds thrilling until you realize that 60% of makers need a month or more to finish, and 44% report investing at least 30 hours of active work. The real challenge is not the stitches themselves but the hidden technical traps that turn an exciting project into an abandoned pile of expensive yarn. This guide cuts through the fluff and addresses the exact failure points that cause sweaters to end up in the UFO (UnFinished Object) drawer.
Table of Contents
- Why Your First Crochet Sweater Will Take Longer (and Cost More) Than You Think
- The 4-Inch Mistake: Why Gauge Is Your Make-or-Break Moment
- What Pattern Listings Don’t Tell You: Construction Red Flags to Spot Before You Buy
- Sweater Construction Methods Decoded: Which Technique Matches Your Skill Level
- The Hidden Math: Sizing Adjustments That Actually Work
- Before You Cast On: The Pre-Flight Checklist That Prevents 20-Hour Disasters
- Your First Sweater Survival Guide: Managing the Mental and Technical Marathon
- After the Last Stitch: Blocking, Seaming, and Finishing Techniques That Make It Look Professional
- Conclusion
- FAQ
Key Takeaways
- Gauge errors can make your sweater up to 4 inches smaller than intended, and skipping proper swatching is the #1 reason sweaters fail.
- Construction method matters more than skill level. Top-down seamless designs suit beginners better than panel-based sweaters that require precise seaming.
- Budget for reality: commercial patterns cost $8 to $15, but hidden costs like frogging, extra yarn for dye lot matching, and gauge swatches can double your investment.
Why Your First Crochet Sweater Will Take Longer (and Cost More) Than You Think
Most beginner tutorials promise a simple weekend project, but the data tells a different story. Beginner-friendly designs typically demand 15 to 25 hours of work, intermediate patterns require 20 to 35 hours, and complex designs can consume 30 to 50+ hours. One first-time maker reported spending approximately 25 hours on their sweater, with the second sleeve alone requiring more than 10 rework attempts to match the first.
The cost breakdown goes beyond the obvious. Commercial patterns range from $8 to $15, and while free patterns save upfront cash, they often lack the clarity and support that prevent expensive rework. You will also need yarn, which varies wildly by fiber and weight, plus hidden expenses most makers forget: gauge swatches that consume yarn before you even start, frogging that can damage and waste yarn, and the nightmare of running out near the finish line without matching dye lots.
A sweater project initially expected to take two weeks and three skeins can stretch into five months and considerably more yarn when reality hits. Budget $50 to $80 for materials, but also budget emotional energy for the inevitable setbacks.
The 4-Inch Mistake: Why Gauge Is Your Make-or-Break Moment
Gauge is not optional. Skipping or improperly testing gauge is the single biggest technical reason sweaters get abandoned. A sweater can end up approximately 4 inches smaller than intended when gauge is incorrect, and planning guides recommend changing hook size when gauge differs by more than 5%.
Here is the proper method: make a swatch of at least 6 inches square using the exact yarn, hook, and stitch pattern specified in your pattern. Then wash and dry the swatch before measuring, because yarn relaxes after washing and changes finished dimensions. Measure both stitch gauge (stitches per inch) and row gauge (rows per inch). Having correct stitch gauge but wrong row gauge still causes fit failures, especially in patterns where length is calculated by row count.
If your gauge is off, adjust your hook size. Too many stitches per measurement means your tension is too tight; go up a hook size. Too few stitches means your tension is too loose; go down a hook size. Test again. Repeat until your swatch matches the pattern gauge exactly. Yes, this process is tedious. Yes, it is absolutely necessary.
💡 Pro Tip: Make your gauge swatch larger than 6 inches if you are working a textured stitch or colorwork. Measure in the center of the swatch, at least one inch away from the edges, because edge stitches distort tension.
🔥 Hacks & Tricks: Take a photo of your washed and measured swatch next to a ruler. If you need to pause your project for weeks, you will have a visual reference to check your tension when you restart. Tension can drift over time or after breaks.
What Pattern Listings Don’t Tell You: Construction Red Flags to Spot Before You Buy
Not all patterns are created equal, and some marketed as beginner-friendly are actually poorly written traps. User complaints document patterns marketed as top-down that actually require separate front and back pieces plus joined sleeves, creating unexpected construction complexity.
Before you purchase or start any crochet sweater pattern, ask these questions:
- Does the listing clearly state the construction method? Look for explicit terms like “top-down seamless,” “bottom-up in panels,” or “worked flat and seamed.” Vague descriptions are a warning sign.
- Are there multiple, clear photos? Patterns with only a single finished-item photo, especially poor-quality images, often lack visual explanation of difficult steps.
- Does the written pattern include row numbers? Missing row numbers make progress tracking nearly impossible and suggest poor pattern organization.
- Do the row counts align with the stated gauge and finished measurements? Inconsistent numbers indicate the pattern was not properly tested.
- Is sleeve construction and joining clearly explained? Sleeves are a documented bottleneck. Patterns should provide stitch-by-stitch guidance for armhole shaping, sleeve caps, and attachment.
Overly tight seaming stitches can pucker and distort garment shape, but many patterns provide no seaming guidance at all. If the pattern does not explain finishing techniques, consider it incomplete.
Sweater Construction Methods Decoded: Which Technique Matches Your Skill Level
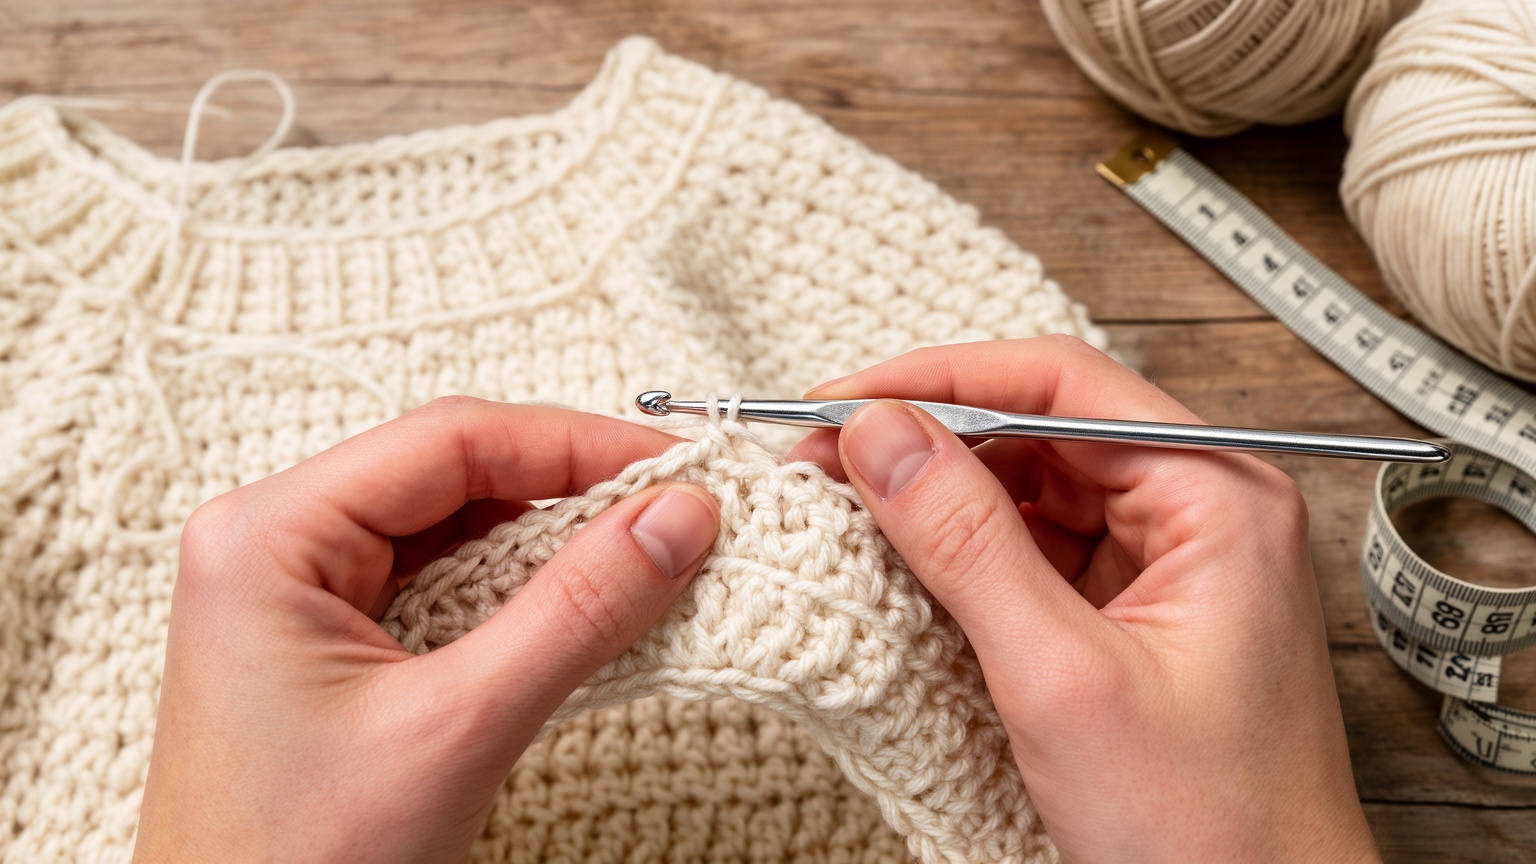
Construction method determines both the wearability of your finished garment and your likelihood of actually finishing it. The three main methods are top-down seamless, panel-and-seam, and bottom-up construction.
Top-down seamless sweaters start at the neckline and work down to the hem in one continuous piece. Sleeves are typically worked separately and joined at the yoke or armholes. This method is beginner-friendly because you can try on the sweater as you go and make adjustments before finishing. There is minimal seaming, which eliminates one major frustration point.
Panel-and-seam construction requires you to crochet separate front, back, and sleeve pieces, then join them with seams. This method demands accurate stitch and row counting, because count errors cause panels and sleeves to diverge from required dimensions. Documented bottlenecks include armhole shaping and sleeve symmetry. One maker redid the first five rows of the second sleeve more than 10 times to achieve matching size and tension. Seaming problems are common: tight seams cause puckering and distortion, while beginners struggle with achieving even tension across shoulder and side seams.
Bottom-up construction starts at the hem and works toward the shoulders. This method offers design flexibility but shares the same seaming challenges as panel-based construction.
If you are making your first sweater, choose top-down seamless. Save panel-based construction for after you have mastered gauge control and basic garment shaping. Explore more beginner techniques in our crochet sweater tutorials section.
The Hidden Math: Sizing Adjustments That Actually Work
Most patterns provide multiple sizes, but they rarely explain how to modify measurements when standard sizing does not fit your body. Current beginner guides confirm that changing hook size affects fit and recommend adjustments when measurements differ materially, but they do not provide complete formulas for coordinating bust width with shoulder, armhole, and sleeve relationships.
Here is what you need to understand:
Body versus finished measurements: Body measurements are your actual measurements. Finished measurements are the dimensions of the completed garment. The difference is called ease. Negative ease means the garment is smaller than your body (think fitted). Zero ease means it matches exactly. Positive ease means it is larger (think oversized or relaxed fit). Sweaters typically use 2 to 4 inches of positive ease at the bust.
Coordinated adjustments: You cannot change bust width in isolation. If you add inches to the bust circumference, you must also adjust armhole depth, sleeve cap or sleeve opening, and shoulder width proportionally. A wider body requires deeper armholes to maintain mobility and comfort.
Length recalculation from row gauge: If you want to lengthen or shorten the body or sleeves, multiply your desired length change (in inches) by your row gauge. For example, if your row gauge is 10 rows per 4 inches and you want to add 2 inches of length, you need to add 5 rows.
Sleeve tapering: Sleeves typically start narrow at the cuff and increase gradually to the upper arm. To calculate increase frequency, subtract your cuff circumference from your upper arm circumference, divide by two (because you increase on both sides), then divide the total rows by the number of increases needed. This gives you the interval: increase every X rows.
These calculations are not intuitive, and most beginner resources skip them entirely. If you need to make significant sizing changes, consider working with a crochet fashion resource that provides detailed grading guidance.
Before You Cast On: The Pre-Flight Checklist That Prevents 20-Hour Disasters
Do not start crocheting until you complete this checklist. Skipping steps here causes the majority of project failures.
- Make and wash your gauge swatch. Measure both stitch and row gauge. Adjust hook size until you match the pattern exactly.
- Verify yarn quantity. Calculate total yardage needed, then buy 10 to 20% extra. Match dye lots at purchase time. Planning sources identify running out of yarn near project end, including dye lot matching complications, as a documented problem. Dye lots can vary significantly in color, and you cannot always find the same lot weeks or months later.
- Confirm construction method. Read the entire pattern before starting. Make sure you understand whether it is seamless or requires joining panels. Check for armhole, sleeve, and neckline construction details.
- Assess skill prerequisites. Does the pattern require techniques you have never done? Look up video tutorials for unfamiliar stitches or shaping methods before you start.
- Set a realistic timeline. If 60% of makers need a month or more and 44% report at least 30 hours of work, do not expect to finish in a weekend. Plan for interruptions, rework, and learning curve.
- Gather finishing supplies. You will need blocking materials, a tapestry needle for weaving in ends, and possibly seaming tools. Do not assume you can improvise these at the end.
Yarn can become kinked or split after repeated frogging, reducing usability. If you make a major mistake early, it may be better to start fresh with new yarn rather than trying to salvage damaged fiber.
Check out our recommendations for the right crochet tools to set yourself up for success.
Your First Sweater Survival Guide: Managing the Mental and Technical Marathon
A 20 to 50 hour project is not just a technical challenge; it is an emotional marathon. Here is how to stay motivated and avoid abandonment.
Manage expectations from day one. Only 11% of makers finish in under two weeks, while 60% need a month or more. If your project takes longer than you hoped, you are not failing. You are normal.
Track your progress visually. Take photos after completing each major section (front, back, sleeves). Seeing tangible progress helps when you are stuck on a tedious section like the second sleeve.
Identify your bottlenecks early. Documented progression bottlenecks include gauge control, stitch and row counting, armhole and sleeve construction, seaming, and finishing (blocking). When you hit a bottleneck, do not push through in frustration. Pause, research the technique, and practice on a small swatch if necessary.
Know when to ask for help. Online communities like r/crochet can provide troubleshooting support, but be specific in your questions. Include photos, pattern details, and exactly where you are stuck.
Handle rework without quitting. One reported first sweater took approximately 25 hours with substantial rework on the second sleeve alone. Frogging is not failure; it is part of the learning process. The difference between a finished sweater and a UFO is often just the willingness to redo a section until it is right.
Take strategic breaks. If you are dreading picking up your project, take a break and work on something small and satisfying. Come back to the sweater when you feel refreshed, not resentful.
After the Last Stitch: Blocking, Seaming, and Finishing Techniques That Make It Look Professional
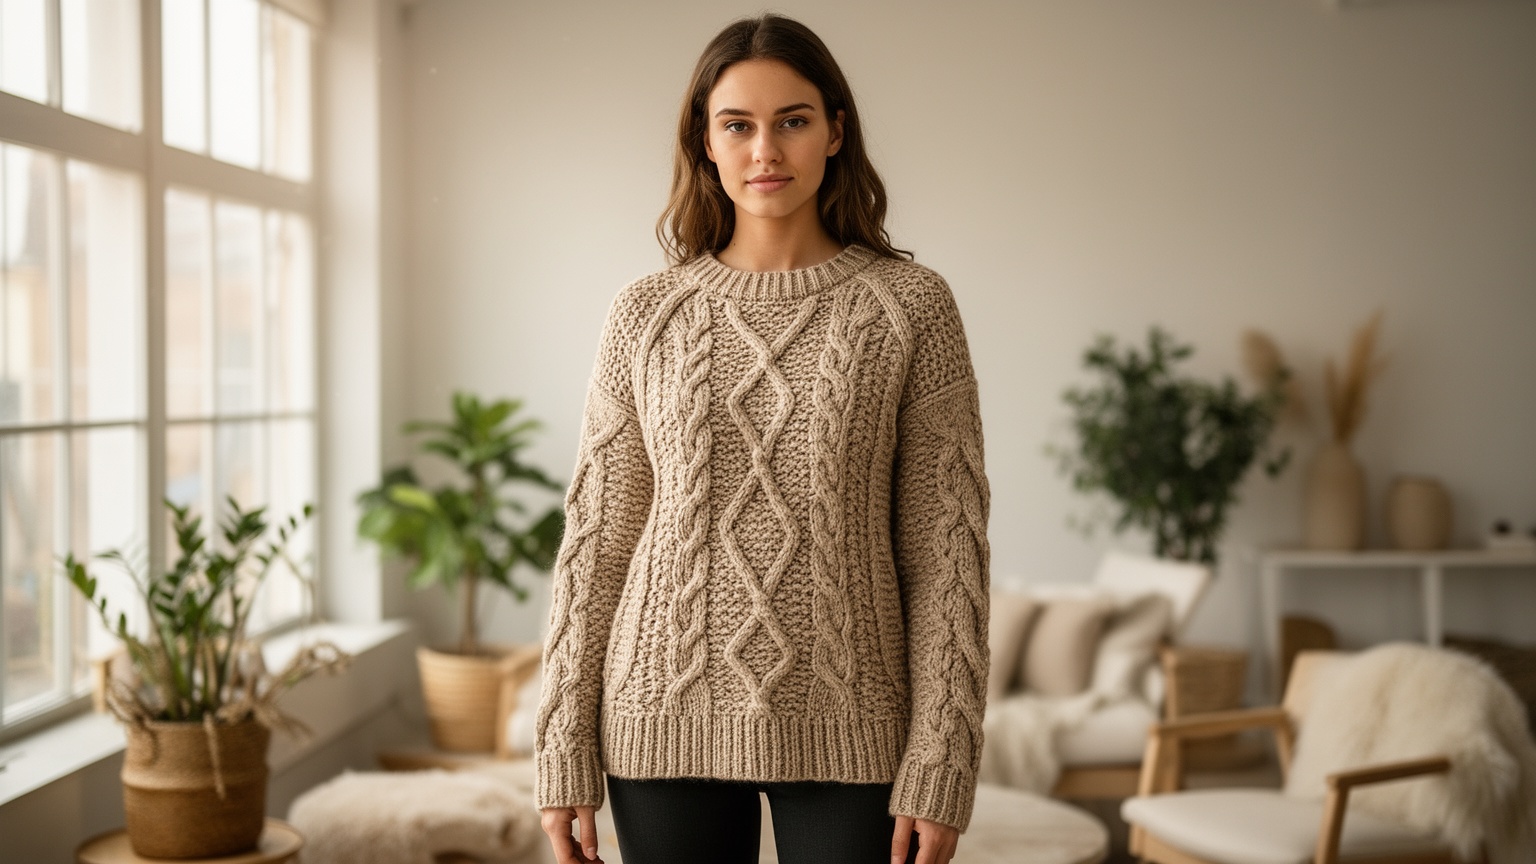
Finishing separates a homemade sweater from a handmade showcase. Blocking and finishing are identified as final technique hurdles where beginners may stall, but these steps are worth the effort.
Blocking: Wet or steam block each piece (or the entire sweater if seamless) to even out stitches and set the final shape. Pin the pieces to the measurements specified in your pattern, not the measurements they naturally want to be. Let dry completely. Blocking can add drape, open up lacework, and eliminate minor tension inconsistencies. Do not skip this step.
Seaming: If your sweater requires seaming, use a method appropriate for crochet fabric. Whip stitch is fast but visible. Mattress stitch is nearly invisible and creates a professional finish. The key is consistent tension. Overly tight seaming can pucker and pull the garment out of shape. Practice on scrap swatches first. Proper seaming includes shoulder and side seams, sleeve attachment, and collar or neckline finishing in coordinated sequence.
Weaving in ends: Do not just tie knots and cut the yarn. Weave ends through the back of stitches in multiple directions (up, down, diagonally) for at least 2 inches, then trim close to the fabric. Ends that are not properly secured will work loose after wearing and washing.
Final adjustments: Try on the sweater after blocking and seaming. Check for any puckering, uneven hems, or fit issues. Small adjustments like adding a border or adjusting sleeve length can make a huge difference in wearability.
Swatches should be washed and dried before measuring because yarn relaxes and changes dimensions. The same principle applies to your finished sweater: block it before declaring victory.
Conclusion
Learning how to crochet a sweater is absolutely achievable, but only if you go in with realistic expectations and a plan to avoid the documented failure points. Gauge is non-negotiable. Construction method matters more than you think. Patterns are not all created equal, and hidden costs (time, yarn, emotional energy) add up fast. The difference between a finished, wearable sweater and an expensive pile of regret is preparation, patience, and a willingness to rework when necessary.
Your first crochet sweater will take longer and cost more than you expect. It will test your technical skills and your persistence. But when you finally block that last seam and try it on, you will have created something genuinely impressive. Start with a beginner-friendly pattern, follow the pre-flight checklist, and do not skip gauge. You can do this.
Ready to start your first sweater? Explore our collection of size-inclusive patterns and construction tutorials to find the perfect project for your skill level.
FAQ
How long does it actually take to crochet a sweater?
Beginner-friendly sweaters typically take 15 to 25 hours, intermediate designs require 20 to 35 hours, and complex sweaters can take 30 to 50+ hours. In surveys, 60% of makers report needing a month or more to complete their sweater, while only 11% finish in under two weeks. First-time makers often underestimate both time and yarn requirements.
What happens if I skip the gauge swatch?
Skipping gauge is the #1 technical reason sweaters fail. A sweater can end up approximately 4 inches smaller or larger than intended when gauge is incorrect. Patterns recommend changing hook size when gauge differs by more than 5%. Both stitch and row gauge must match the pattern, because having correct stitch gauge but wrong row gauge still causes fit failures.
Should I choose a seamless or panel-based sweater pattern?
For your first sweater, choose top-down seamless construction. This method is beginner-friendly because you can try on the sweater as you work and make adjustments before finishing. Panel-based construction requires accurate stitch and row counting, and seaming is a documented bottleneck where beginners struggle with tension, puckering, and sleeve symmetry.
How much yarn should I buy for a sweater?
Calculate the total yardage specified in your pattern, then buy 10 to 20% extra. Match dye lots at purchase time, because running out of yarn near project end is a documented problem and dye lots vary significantly in color. You cannot always find the same lot weeks or months later. Yarn can also become damaged during frogging, so having extra is essential.
What should I do if my sweater is not fitting correctly?
First, check your gauge again mid-project. Tension can drift over time or after breaks. If your gauge is correct but the fit is wrong, you may need to adjust the pattern for your body measurements. Proper sizing requires understanding body versus finished measurements and ease (negative, zero, or positive). When modifying width, you must also adjust armhole depth, sleeve cap, and shoulder dimensions proportionally.
Free Pattern Delivery
Get Your FREE Crochet Pattern PDF
Love this pattern? Enter your name and email below to get your free printable crochet pattern PDF delivered straight to your inbox!