Every stitch tells a story · Free PDF Pattern with Weekly Newsletter Claim Free Guide →

Every stitch tells a story · Free PDF Pattern with Weekly Newsletter Claim Free Guide →
Crochet Sweater Pattern: 6 Best Ways To Get A Proven Fit
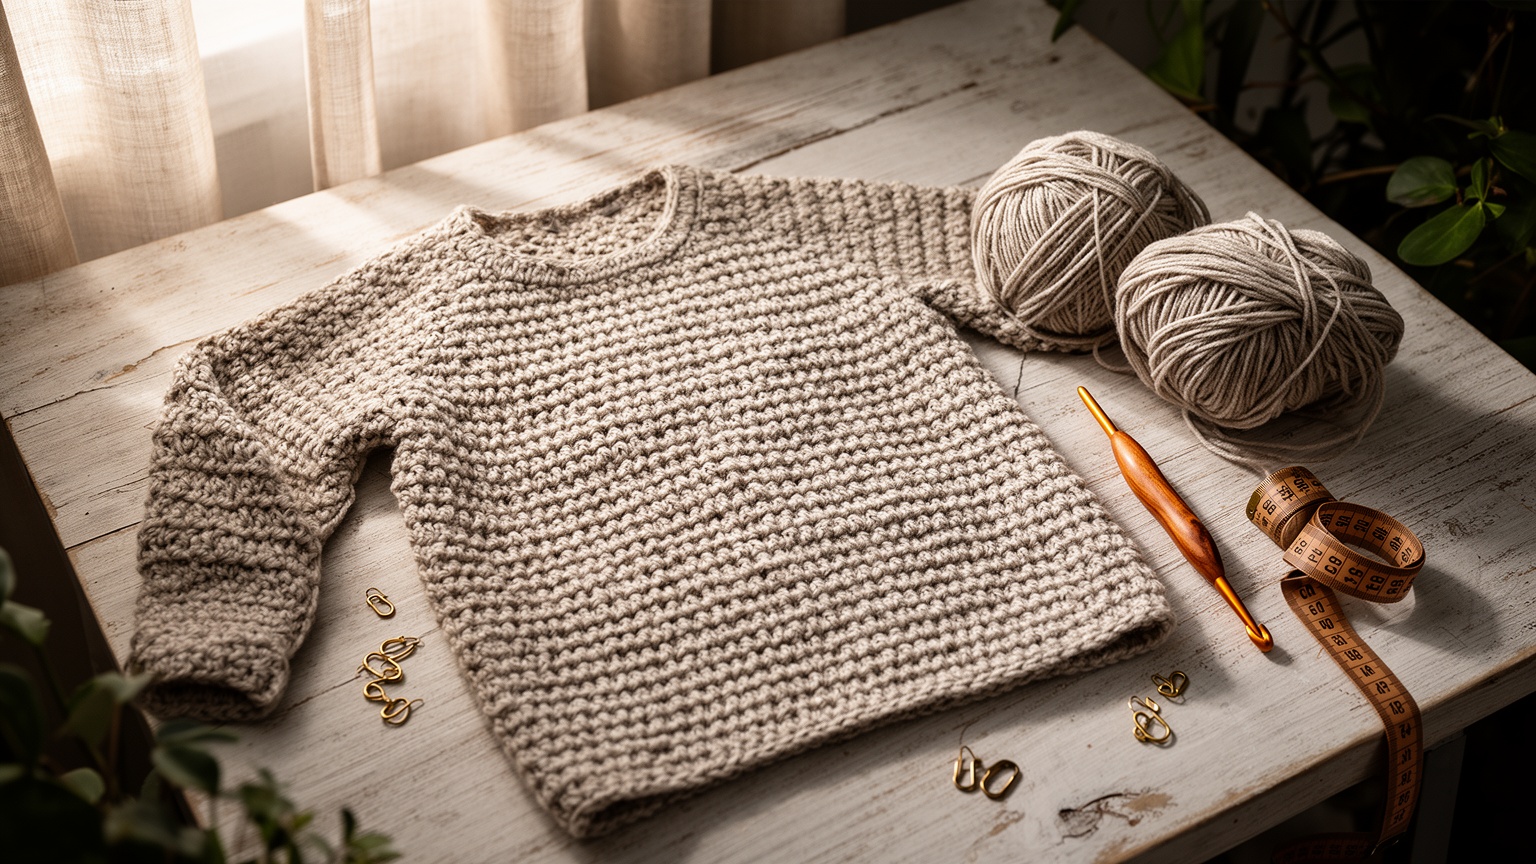
Crochet sweater pattern math scares a lot of crafters away from garments, and honestly, it should. Most patterns hand you a size label like “Medium” and expect you to trust it the same way you trust a t shirt off a rack. The problem is your body is not a rack size, and neither is anyone else’s. This post breaks the habit of picking a letter and hoping, and replaces it with a try as you go workflow that treats your sweater as a three dimensional project instead of a flat number.
Table of Contents
- Understanding Crochet Sweater Sizing: Why Nominal Sizes (S–5XL) Fail
- Decoding Ease and Yardage Before You Swatch
- The Gauge Conversion Formula: From Body Inches to Stitches and Rows
- The 3D Body: Critical Adjustments Competitor Patterns Overlook
- Step-by-Step Construction Workflow: The Top-Down Adjustable Method
- Construction Fit Checkpoints: When to Try It On and How to Diagnose Issues
- Conclusion
- FAQ
If you have made a scarf, a blanket, or a hat and felt confident, but a sweater left you with boxy shoulders or armholes that pinched, this is for you. We are going to walk through the sizing math, the gauge conversion, the body specific adjustments, and the exact moments during construction when you should stop and try the thing on.
Key Takeaways
- Nominal sizes like S through 5XL hide the real numbers you need; always check finished garment measurements and ease separately from the body chart.
- Gauge conversion turns your actual bust, armhole, and sleeve measurements into stitch and row counts, which matters more than trusting a pattern’s size label.
- Trying on the yoke before separating sleeves and body is the single most useful fit checkpoint in the entire project.
Understanding Crochet Sweater Sizing: Why Nominal Sizes (S–5XL) Fail
A size label on a crochet sweater pattern is really just a shorthand for a bust measurement, and it rarely tells you anything about armhole depth, torso length, or how much room the designer baked in on purpose. That last part, called ease, is the actual piece of information you need, and most people skip right past it.
Here is a typical XS to 5XL progression you will see in many crochet sweater patterns: a chest range from 30 inches up to 62 inches, paired with finished garment circumferences from 32 inches to 64 inches. Notice the gap between the two columns stays roughly consistent across the chart, which means the designer picked a fixed amount of positive ease and applied it uniformly. That is fine if you want that exact amount of room, but if you prefer a closer fit or something more relaxed, the label alone will not tell you how to adjust. You have to read both numbers, compare them to your own body, and decide if that gap actually works for the silhouette you want.
This is also why size charts that only list one number per size are a red flag. If a pattern gives you a bust measurement with no finished garment measurement, you cannot calculate ease at all, and you are flying blind on fit. Before buying or starting any crochet sweater patterns, scan the size chart specifically for two columns: body measurement and finished measurement. If you only see one, assume the designer expects you to just trust the label, which is exactly the habit we are trying to break.
Decoding Ease and Yardage Before You Swatch
Ease is the difference between your body measurement and the finished garment measurement, and it is what decides whether a sweater reads as fitted, relaxed, or oversized. Negative ease means the garment is smaller than your body and will stretch to fit, zero ease matches your body exactly, and positive ease adds extra room on top of your measurement.
For a relaxed, everyday sweater, most patterns build in about 2 to 4 inches of positive ease. That is enough to layer over a shirt without feeling tight across the shoulders, but not so much that the garment loses its shape. If you want something fitted and structured, you would aim closer to zero or even slightly negative ease, especially if your yarn has some stretch to it.
Yarn weight changes your yardage needs dramatically, and this catches a lot of people off guard mid project. A bulky weight adult sweater typically needs 500 to 800 yards. Worsted weight sits between 800 and 1,200 yards. DK weight climbs to 1,000 to 1,500 yards. Fingering weight, because the stitches are so small and dense, can require 1,500 to 2,000 yards. Running out of yarn halfway through a sleeve is a real and common problem, so buy on the higher end of the range if you are between sizes or adding length.
The Gauge Conversion Formula: From Body Inches to Stitches and Rows
This is the part most tutorials gloss over, and it is the part that actually determines whether your sweater fits. Gauge tells you how many stitches and rows fit into one inch of your fabric, and once you know that, you can convert any body measurement into an actual stitch count.
Say your swatch gives you 20 single crochet stitches and 18 rounds over a 4 inch by 4 inch square. That works out to 5 stitches per inch and 4.5 rows per inch. If your target finished bust is 40 inches, you multiply 40 by 5, which gives you 200 stitches around the body at the widest point. That number is not optional math, it is the actual backbone of your pattern.
Row gauge matters just as much as stitch gauge, and it is the one most people ignore. If your row gauge is off, your armhole depth and torso length will be wrong even if your stitch count is perfect. A sweater that is wide enough but has armholes sitting too low or too high is still an ill fitting sweater. Always swatch for both numbers, and always remeasure after blocking, because fiber relaxes and gauge can shift once it is wet.
The 3D Body: Critical Adjustments Competitor Patterns Overlook
Most generic sizing charts assume your front and back are identical widths, which is rarely true for anyone with any amount of bust projection. If you crochet the front and back the same size, the front will feel tight and start to tent or pull, while the back has extra fabric pooling at the sides.
💡 Pro Tip: Before you start the yoke, measure your high bust and your full bust separately. If the difference is more than 2 inches, plan to add that difference entirely to the front panel instead of splitting it evenly between front and back.
🔥 Hacks & Tricks: Use a stitch marker to mark your side seam placement before you start shaping. As you work the front wider than the back, the marker keeps your underarm point from drifting toward the front, which is a common and sneaky fit mistake.
A practical fix many experienced designers use is making the front panel about 2 inches larger in circumference than the back panel, then adding short rows at the upper back to account for the natural curve between shoulder blades and neckline. Short rows let you add length only where you need it, usually at the back neck, without adding bulk everywhere else.
Height changes things too. Armhole depth that works for someone 5 foot 2 will sit wrong on someone 5 foot 9, even if their bust measurement is identical. Anthropometric data consistently shows armhole depth varies by height and torso length, which is exactly why a single armhole depth number per size rarely works for everyone in that size category. If you are notably taller or shorter than average, plan to add or subtract rows at the underarm before you separate for the body, not after.
Step-by-Step Construction Workflow: The Top-Down Adjustable Method
Top down construction is the method that makes all of this adjustable math actually usable, because you can try the garment on your own body at nearly every stage instead of guessing until the end.
- Measure first. Record bust, desired body length, sleeve length, sleeve circumference, and neck circumference before you pick up a hook.
- Choose your ease. Decide if you want fitted, relaxed with 2 to 4 inches of ease, or oversized, and write down the actual finished number you are aiming for.
- Swatch and convert. Use your gauge to turn every measurement into stitch and row counts, as covered above.
- Build the yoke top down. Work the neckline and shoulder increases in the round, trying the piece on your shoulders periodically as it grows.
- Check bust and shoulder fit. Before separating sleeves from the body, confirm the yoke reaches your actual underarm, not just the pattern’s assumed underarm.
- Separate body and sleeves. Place sleeve stitches on hold and continue the body as one continuous piece.
- Try on the body before the hem. Adjust length, waist shaping, and hip width while it is still easy to rip back a few rows.
- Construct sleeves independently. Match sleeve length and circumference to your actual arm, not the chart’s assumption.
This approach is slower than following a fixed pattern line by line, and that is a fair tradeoff to be upfront about. But crafters who use try as you go fitting on crocheted garments consistently report higher satisfaction with the final fit compared to ready to wear clothing, largely because they can catch and fix problems while the yarn is still on the hook instead of after the seams are sewn.
Construction Fit Checkpoints: When to Try It On and How to Diagnose Issues
Knowing when to try the garment on is just as important as knowing how to measure. The single most critical checkpoint is right before you separate the yoke into sleeves and body. At that moment, slip it over your shoulders and check whether the underarm sits at your actual underarm crease.
| Symptom | Likely Cause | Fix |
|---|---|---|
| Armhole pinches under the arm | Armhole depth too shallow, or yoke separated too early | Add rows before separating, work a few extra rounds at the yoke |
| Fabric sags or gapes at armhole | Armhole depth too deep for your torso length | Remove rows, or add short rows instead of full rounds |
| Front pulls tight across bust | Front and back were split evenly instead of adjusted for bust | Rip back and redistribute stitches, adding more to the front panel |
| Sweater feels stiff and boardy | Yarn or stitch choice has little drape for the intended ease | Switch to a looser stitch pattern or a hook size up |
A boxy, stiff result is almost always traceable to one of two things: ease that does not match the intended silhouette, or a gauge swatch that was never corrected after blocking. Both are preventable if you check before you commit to full rounds of single crochet across an entire body panel.

Before adding ribbing, cuffs, or any finishing trim, recheck symmetry one more time. Compare front length to back length, check both sleeves are the same length, and confirm the hem sits level all the way around. Finishing details are hard to undo once they are attached, so this is your last easy checkpoint.
Conclusion
Fit is not something a size label can promise you, no matter how many letters or numbers it has. A reliable crochet sweater pattern gives you both body and finished measurements, explains the ease, and lets you check your fit at specific points during construction instead of only at the very end. If you take one thing from this guide, let it be this: try the yoke on before you separate for the body, every single time.
If you want a hands on example of this method applied to a specific neckline, check our guide on crochet sweater pattern construction for off the shoulder styles, or browse our full library of crochet sweater patterns with size inclusive grading from XS to 5XL.
FAQ
How much ease should a crochet sweater pattern have?
For a relaxed everyday fit, aim for 2 to 4 inches of positive ease. Fitted garments use closer to zero ease, and oversized styles can go well beyond 4 inches depending on the look you want.
Why did my crochet sweater turn out boxy even though I followed the size chart?
Boxy results usually come from using a single front and back measurement without adjusting for bust projection, or from gauge that shifted after blocking without being rechecked. Review our guide on common crochet sweater mistakes for more detail.
What is the difference between body measurement and finished garment measurement?
Body measurement is your actual bust, waist, or hip circumference. Finished garment measurement is the actual size of the completed sweater, which includes the ease. The difference between the two numbers is the ease.
When should I try on a crochet sweater during construction?
The most important checkpoint is right before separating the yoke into sleeves and body. Also try the body on before finishing the hem and before adding cuffs or trim.
How much yarn do I need for an adult crochet sweater?
It depends heavily on yarn weight. Bulky yarn typically needs 500 to 800 yards, worsted needs 800 to 1,200 yards, DK needs 1,000 to 1,500 yards, and fingering weight can require 1,500 to 2,000 yards.
Free Pattern Delivery
Get Your FREE Crochet Pattern PDF
Love this pattern? Enter your name and email below to get your free printable crochet pattern PDF delivered straight to your inbox!